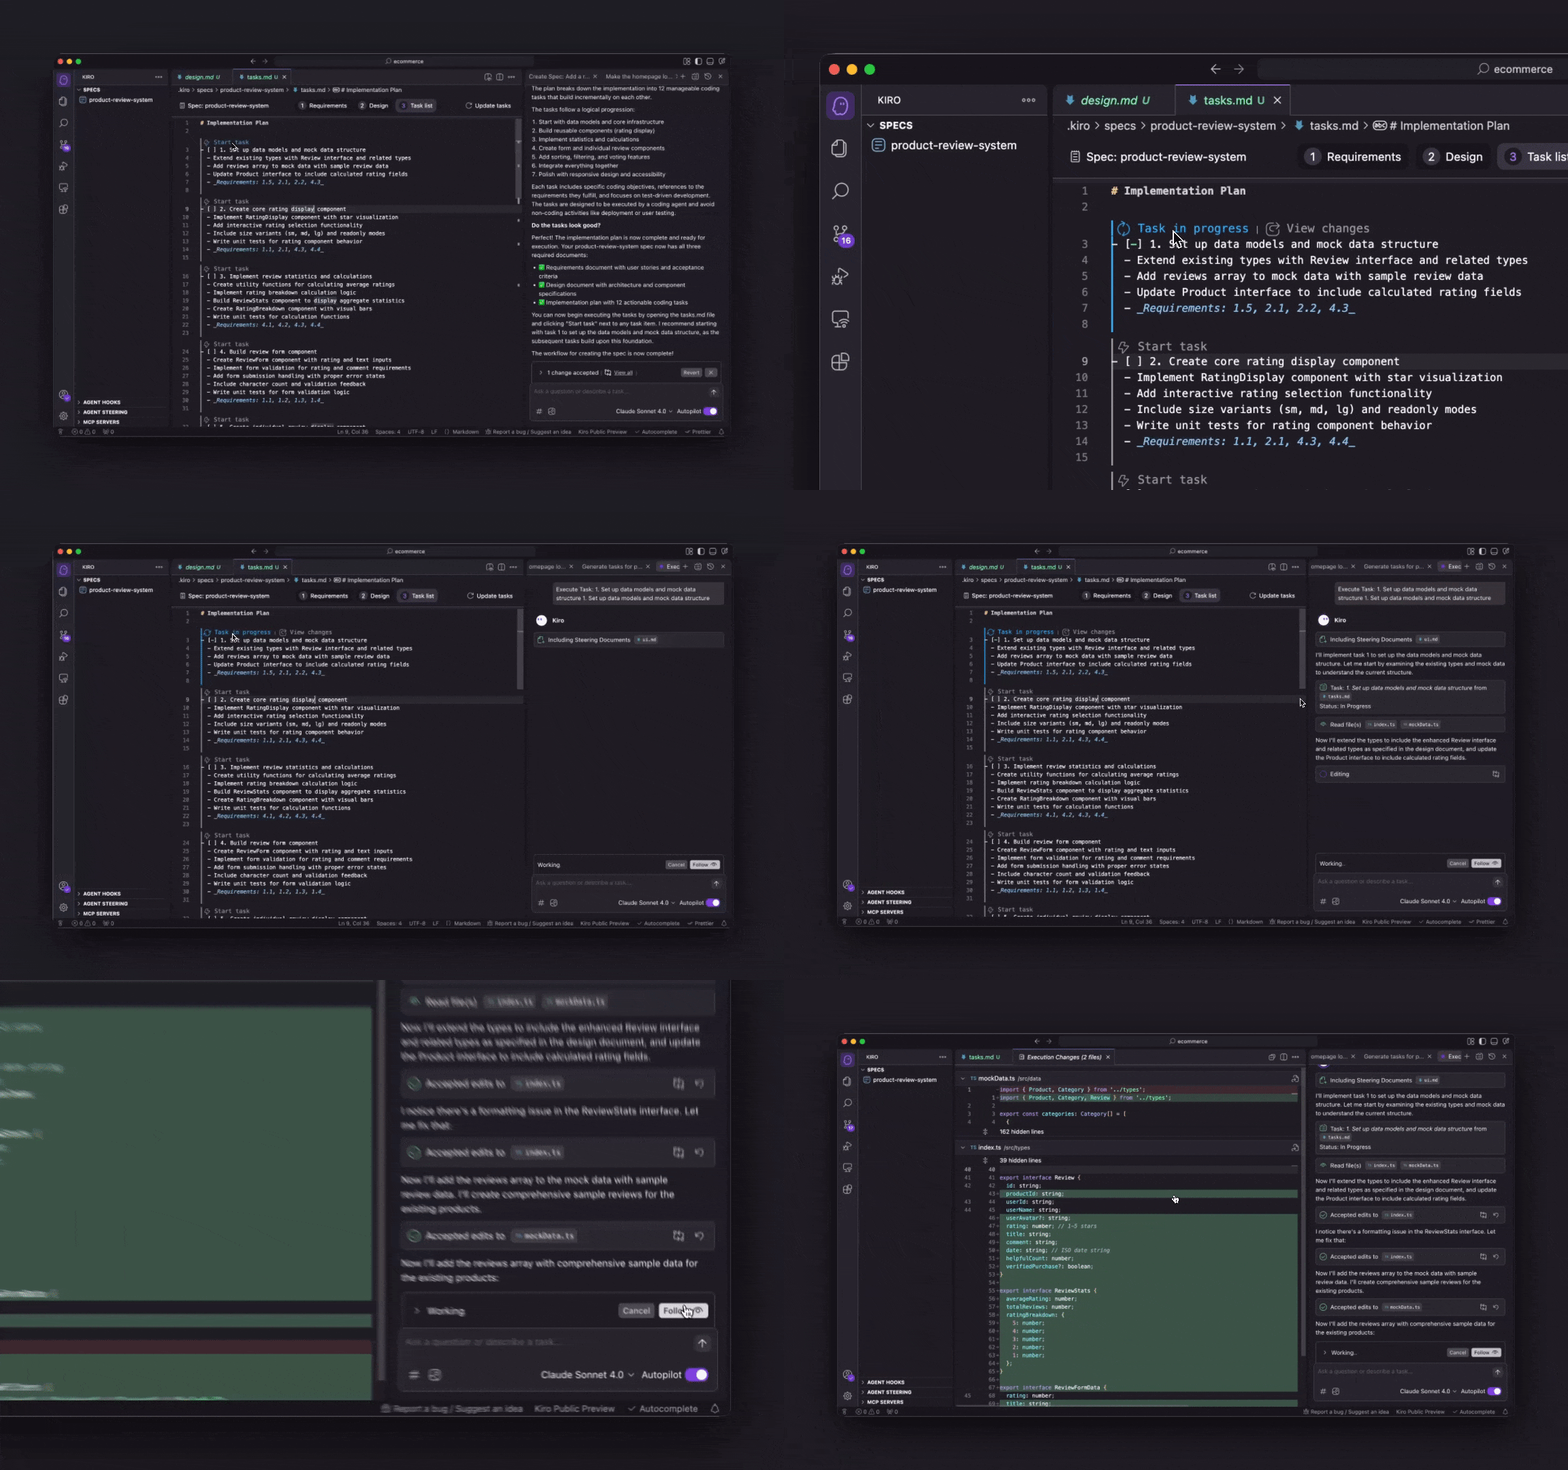
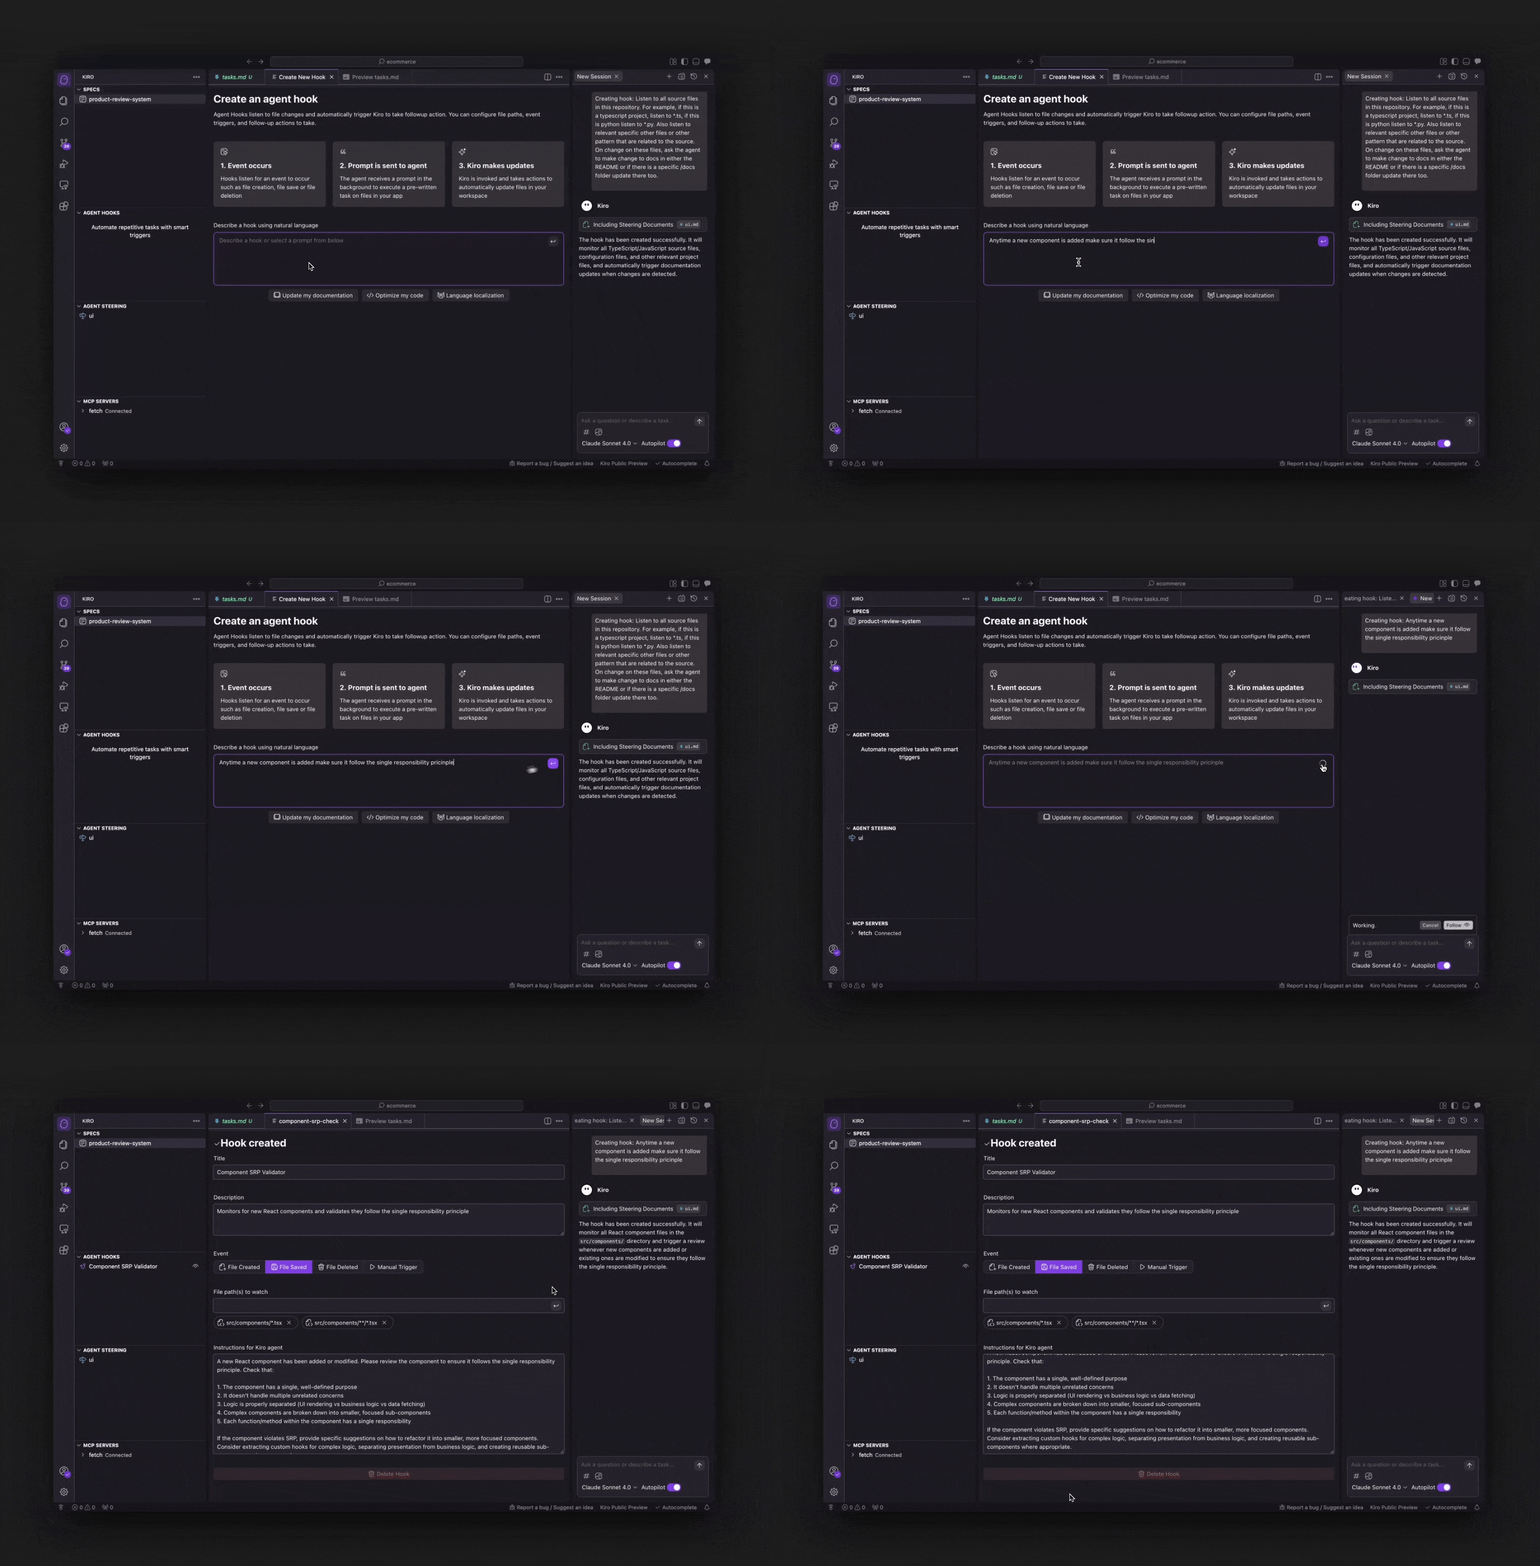
This guide walks you through Kiro's essential features by working with a real project. You'll learn how to use steering files, specs, hooks, and MCP servers to enhance your development workflow.
Prerequisites
Before starting, ensure you have:
- Installed Kiro.
- A project to work with (either an existing project or a new one)
- Basic familiarity with your project's structure and technology stack
Open your project
-
Launch Kiro and open your project:
- Use
File > Open Folderto select your project directory - Or drag and drop your project folder into Kiro
- Or go to the command line and run
kiro .from your project directory
- Use
-
Access the Kiro Panel:
- Click the Kiro Ghost icon in the activity bar (left sidebar)
- This panel provides access to all of Kiro's AI-powered features
-
Start a Chat Session:
- The chat pane should be open by default
- This opens Kiro's conversational interface where you can interact with the AI
Set up Steering files
Steering files provide context about your project, helping Kiro understand your codebase, conventions, and requirements.
To get started choose Generate Steering Docs from the Kiro pane. Kiro generates project steering documents for you stored in .kiro/steering/ that guide Kiro's behavior. They contain information about:
- Your product and its purpose
- Technical stack and frameworks
- Project structure and conventions
You can also create custom steering files by clicking the + button in the steering section and add things like coding standards, and workflows, and team best practices. Learn about steering here.
Build features with Specs
Specs transform high-level feature ideas into detailed implementation plans through three phases:
- Requirements - User stories with acceptance criteria in EARS notation
- Design - Technical architecture and implementation approach
- Tasks - Discrete, trackable implementation steps
Create your first Spec
-
Start a New Spec:
- In your chat session, click the Spec button
- Choose the
+button in the Kiro panel's Specs section
-
Enter a feature description:
- Describe your feature in natural language
- Example: "Add a user authentication system with login, logout, and password reset functionality"
-
Follow the Guided Workflow:
- Requirements Phase: Kiro will help structure your requirements using EARS notation
- Design Phase: Technical architecture and component design will be documented
- Implementation Phase: Discrete tasks will be generated for execution
Execute Spec tasks
Once your spec is complete:
- Review Generated Tasks in the
tasks.mdfile - Execute Tasks by clicking on individual task items
- Track Progress as tasks automatically update to "In Progress" and "Done"

Automate workflows with Hooks
Agent Hooks eliminate manual work by automatically executing predefined actions when:
- Files are created, saved, or deleted
- Manual triggers are activated
- Specific file patterns are modified
To get started:
-
Access Hook Creation:
- Navigate to the Agent Hooks section in the Kiro panel
- Click the
+button to create a new hook
-
Define Hook Behavior:
- Describe what you want automated in natural language
- Example: "When I save a React component file, automatically create or update its corresponding test file"
-
Configure Hook Settings:
- Event Type: Choose from File Created, File Saved, File Deleted, or Manual Trigger
- File Pattern: Specify which files should trigger the hook (e.g.,
src/**/*.tsx) - Instructions: Define the specific actions to perform

Extend capabilities with MCP
Model Context Protocol (MCP) allows Kiro to:
- Access specialized knowledge bases and documentation
- Integrate with external APIs and services
- Use domain-specific tools and utilities
- Connect to databases and cloud services
Set up MCP
-
Open the Kiro panel by clicking the Kiro Ghost icon in the activity bar. First enable MCPs, and then click the edit button (pencil icon) next to MCP in the panel
-
By default, Kiro ships with the fetch MCP server in the JSON file. Flip it to
disabled=falseto connect to it. -
You can also Add any MCP Server by asking Kiro to add a new server or editing the JSON file directly:
json{ "mcpServers": { "web-search": { "command": "uvx", "args": ["mcp-server-brave-search"], "env": { "BRAVE_API_KEY": "your-api-key-here" }, "disabled": false, "autoApprove": ["search"] } } }
Use MCP tools
Once configured, you can use MCP tools in several ways:
- Direct Questions
- Ask questions that leverage the MCP server's capabilities:
- Example:
Search for the latest React 18 best practices
- Explicit Tool Usage
- Reference specific MCP tools with the #MCP context provider
- Example:
#[fetch] fetchUse the web search to find examples of TypeScript generic constraints`
- Integration with Other Features
- Combine MCP with hooks and specs:
- Example:
Create a hook that uses the web search MCP to find relevant documentation when I create new component files
Next steps
Now that you've experienced Kiro's core features:
- Try the Interactive Tutorial: Work through our hands-on game development tutorial
- Learn more about specs: Check out the specs documentation to learn more about the concepts and how they work
- Join the Community: Connect with other Kiro users and share your experiences on our Discord server
Page updated: November 16, 2025
Your first project