The Requirements-First workflow is the traditional approach to Feature Specs, starting with what the system should do before determining how to build it.
When to Use
This workflow is ideal when:
- Clear user stories - You have well-defined behavior that Kiro can use to create user stories
- Flexible architecture - Technical design can be adapted to meet requirements
- Greenfield projects - Starting fresh without existing technical constraints
Workflow Steps
1. Create Feature Spec
From the Kiro panel or command palette, create a new Feature Spec. When prompted, select Requirements-First workflow.
2. Requirements Phase
Kiro generates a requirements.md document based on your prompt.
What's included:
- User stories with clear acceptance criteria
- System behaviors in EARS format (WHEN...THE SYSTEM SHALL...)
- Functional requirements
- Edge cases and error handling
Your role:
- Review requirements for completeness
- Iterate on user stories and acceptance criteria
- Add any missing scenarios or edge cases
- Confirm when requirements meet your needs
Example requirements:
markdown
## User Authentication

### User Registration

WHEN a user submits valid registration data
THE SYSTEM SHALL create a new user account

WHEN a user submits an email that already exists
THE SYSTEM SHALL display "Email already registered" error

WHEN a user submits invalid email format
THE SYSTEM SHALL display email validation error
3. Design Phase
Once you confirm the requirements, Kiro generates a design.md document that describes how to implement them.
What's generated:
- System architecture and components
- Sequence diagrams showing interactions
- Data models and interfaces
- Technology stack recommendations
- Error handling approach
- Testing strategy
Your role:
- Review the technical approach
- Iterate on architectural decisions
- Validate technology choices
- Confirm the design is feasible
Loading image...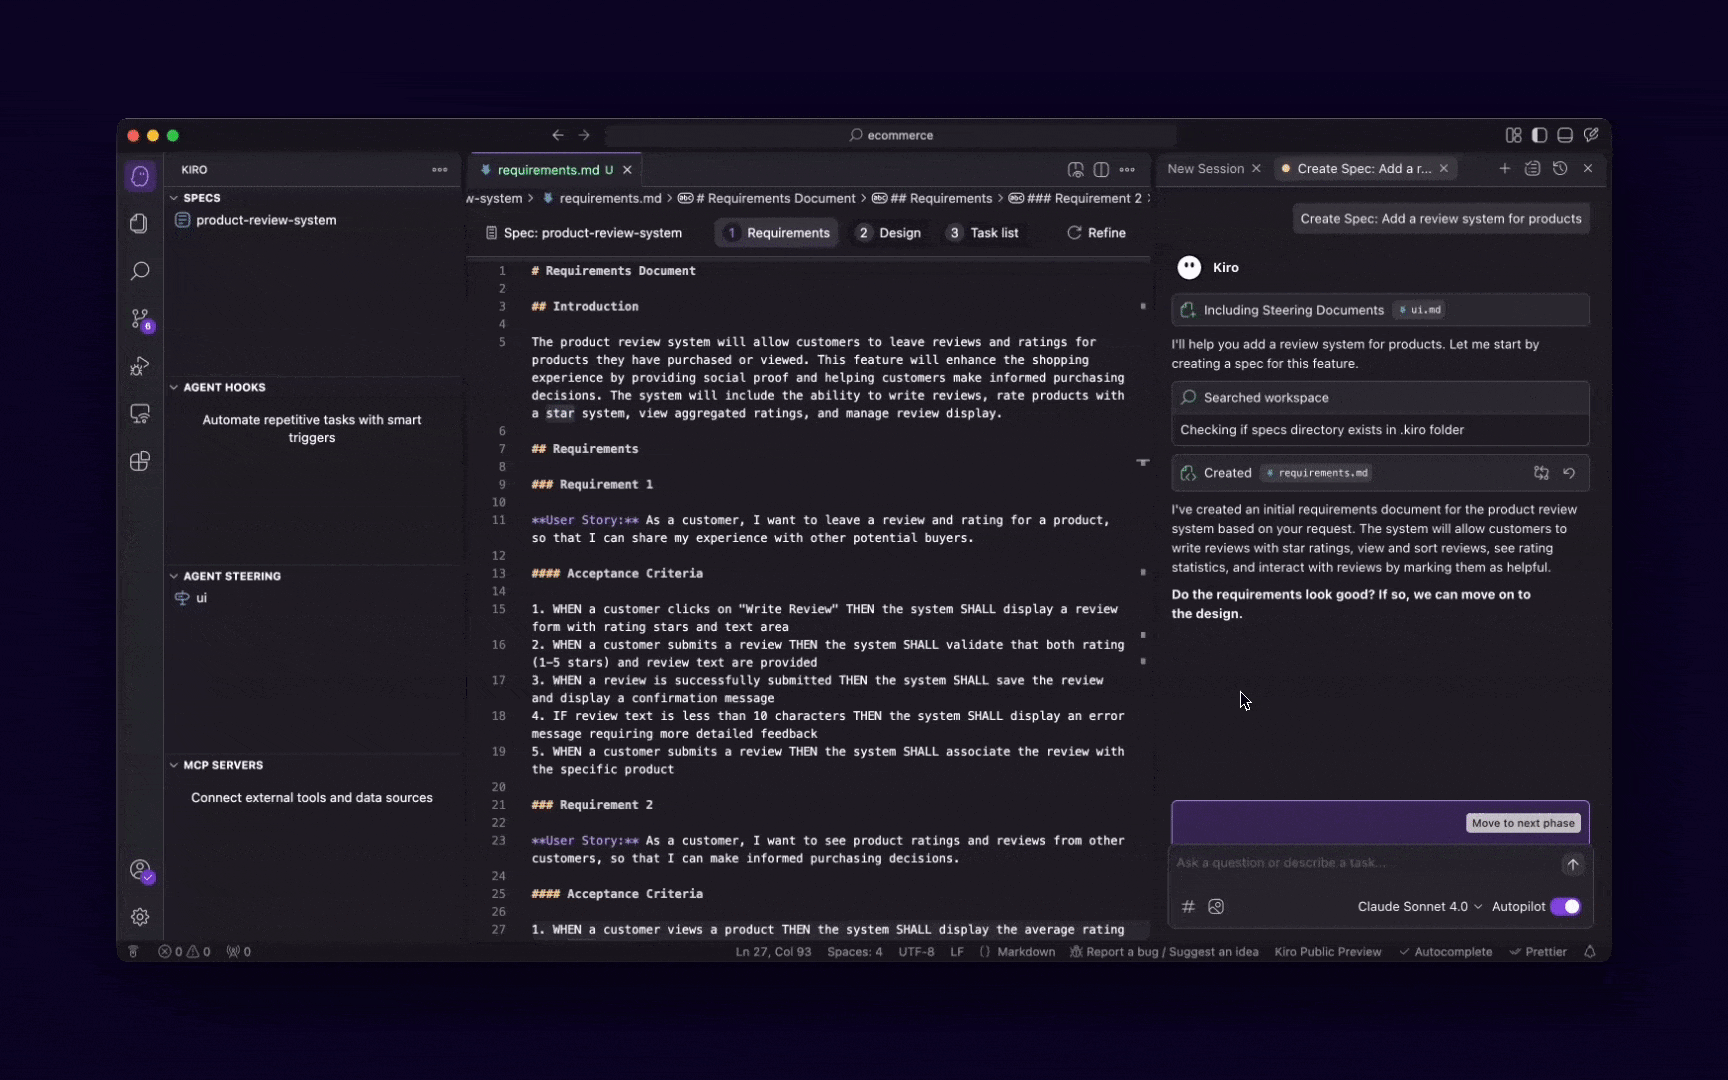
4. Tasks Phase
Kiro generates a tasks.md file with executable implementation tasks.
What's generated:
- Discrete, trackable tasks
- Clear descriptions and expected outcomes
- Dependencies between tasks
- Optional vs required tasks
Your role:
- Review the task breakdown
- Adjust task priorities if needed
- Mark optional tasks
- Begin implementation
Loading image...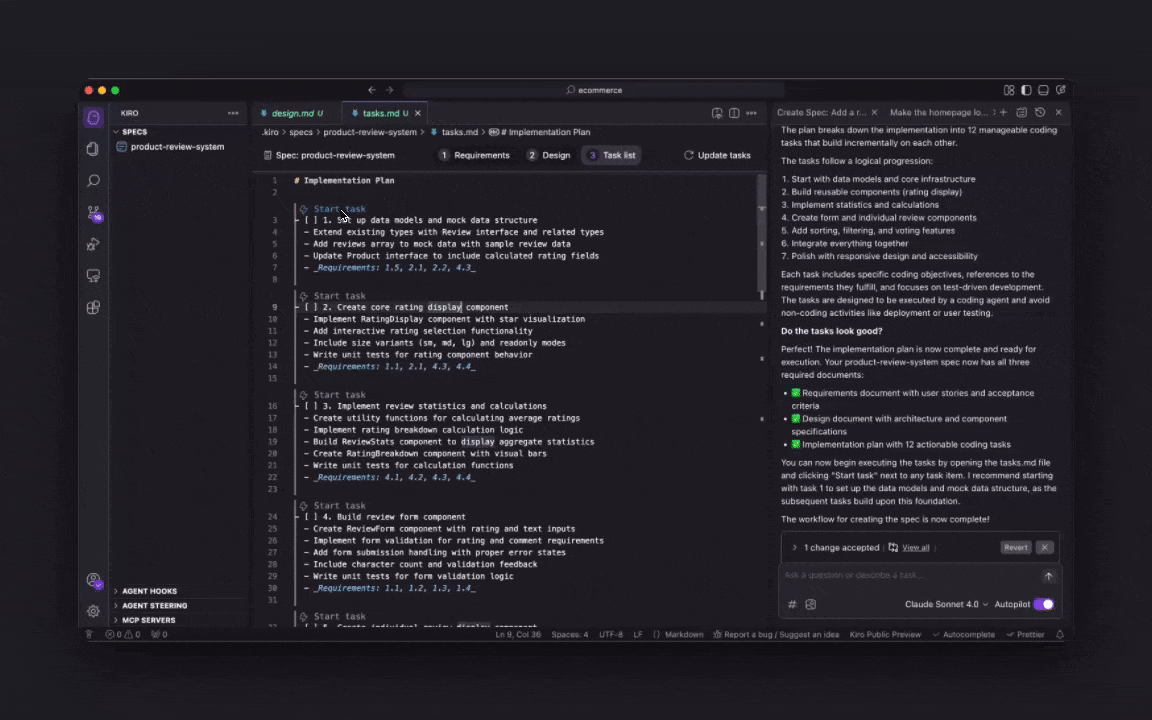
5. Implementation
Execute tasks individually or run all tasks to implement the feature.
Best Practices
Start with Clear User Stories
Be explicit about:
- Who the user is
- What they want to accomplish
- Why they need this feature
- Success criteria
Example prompt:
Build a user authentication system. Users should be able to register with
email/password, login securely, reset forgotten passwords, and logout.
The system must prevent brute force attacks and validate email formats.
Iterate on Requirements Before Design
The power of Requirements-First is getting the "what" right before committing to the "how". Take time to:
- Validate all user scenarios are covered
- Ensure acceptance criteria are testable
- Get stakeholder buy-in on requirements
- Confirm edge cases are addressed
Use EARS Format for Clarity
Requirements in EARS format (WHEN...THE SYSTEM SHALL...) are:
- Unambiguous and testable
- Easy to translate into test cases
- Traceable through implementation
- Clear for both technical and non-technical stakeholders
Review Design for Feasibility
Before proceeding to tasks, validate that:
- The design meets all requirements
- Technology choices are appropriate
- Non-functional requirements are addressed
- The approach is maintainable
Common Patterns
Pattern 1: Product Feature Development
Scenario: Product manager provides user stories for a new feature.
Approach:
- Copy user stories into initial prompt
- Select Requirements-First workflow
- Let Kiro formalize requirements in EARS format
- Review and iterate on requirements with PM
- Generate design and validate with engineering team
- Execute tasks to implement
Pattern 2: Customer-Driven Features
Scenario: Customer requests specific functionality.
Approach:
- Describe customer needs in initial prompt
- Select Requirements-First workflow
- Generate requirements that capture customer intent
- Validate requirements with customer
- Generate design optimized for requirements
- Implement and deliver
Pattern 3: Greenfield Application
Scenario: Starting a new application from scratch.
Approach:
- Define core user journeys and features
- Select Requirements-First workflow
- Generate comprehensive requirements
- Review design for scalability and maintainability
- Execute tasks to build MVP
Troubleshooting
Design Doesn't Meet Requirements
If the generated design doesn't fully address requirements:
- Review requirements for clarity and completeness
- Add more specific acceptance criteria
- Regenerate design from updated requirements
- Iterate until design aligns with requirements
Requirements Too Vague
If requirements lack specificity:
- Add more detail to your initial prompt
- Include specific user scenarios and edge cases
- Define clear success criteria
- Use EARS format for precision
Need to Change Requirements After Design
If you need to modify requirements after design is generated:
- Edit the requirements.md document
- Click Refine in the design.md file
- Kiro will update design and tasks to match new requirements
- This is expected - iteration is part of the process
Related Resources
Page updated: February 18, 2026
Requirements-First Workflow